Expense Reimbursement Application - User Guide

Welcome to haeywa's Expense Reimbursement Application! Our user-friendly platform is designed to make the process of submitting and tracking your expenses for reimbursement a breeze
1. Getting Started

  • Logging In: To access the Expense Reimbursement Application, visit haeywa app and enter your credentials. If you're a new user, follow the registration instructions provided by your organization's admin.
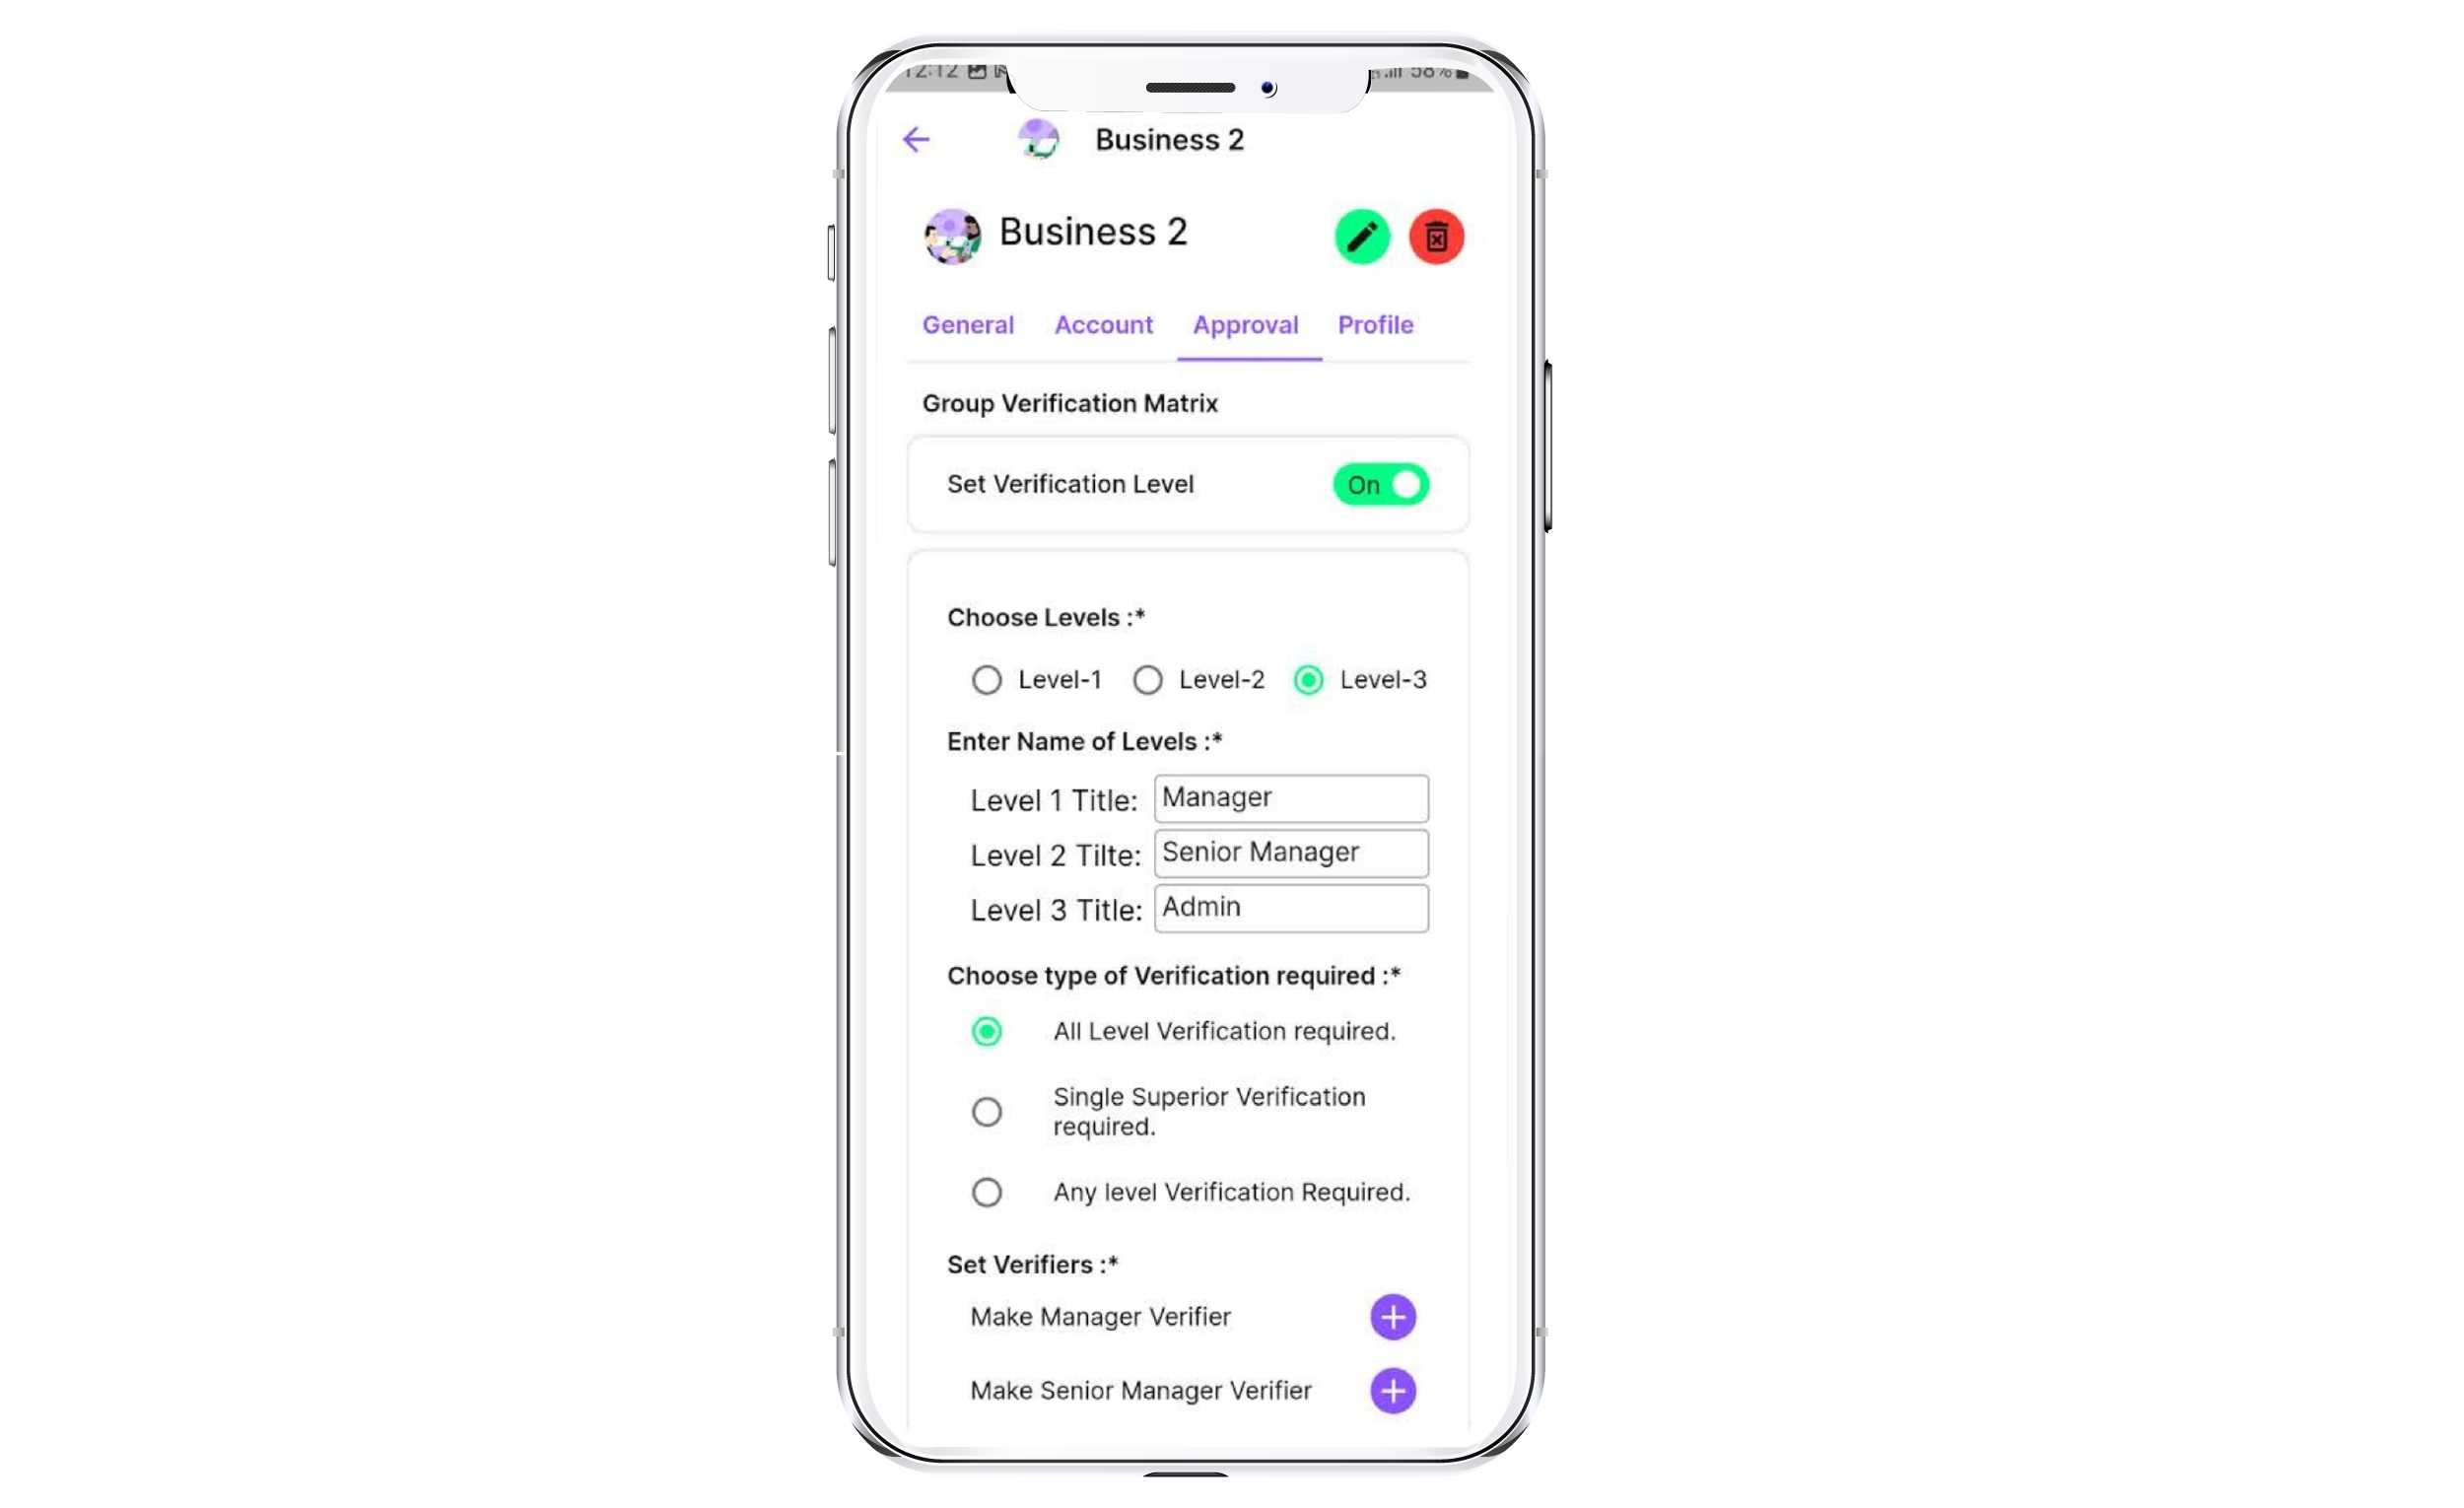
  • User Roles and Permissions: The application supports different user roles, such as Employees, Managers, and Finance Team Members. Each role has specific permissions and responsibilities within the reimbursement process.

2. Submitting Expenses

  • Creating a New Expense Report: Once logged in, select "New Expense Report" to begin. Provide basic information such as the report title, period, and purpose.
  • Adding Expense Details: Enter individual expenses by specifying the date, category, description, and amount. Make sure to accurately categorize each expense for proper processing.
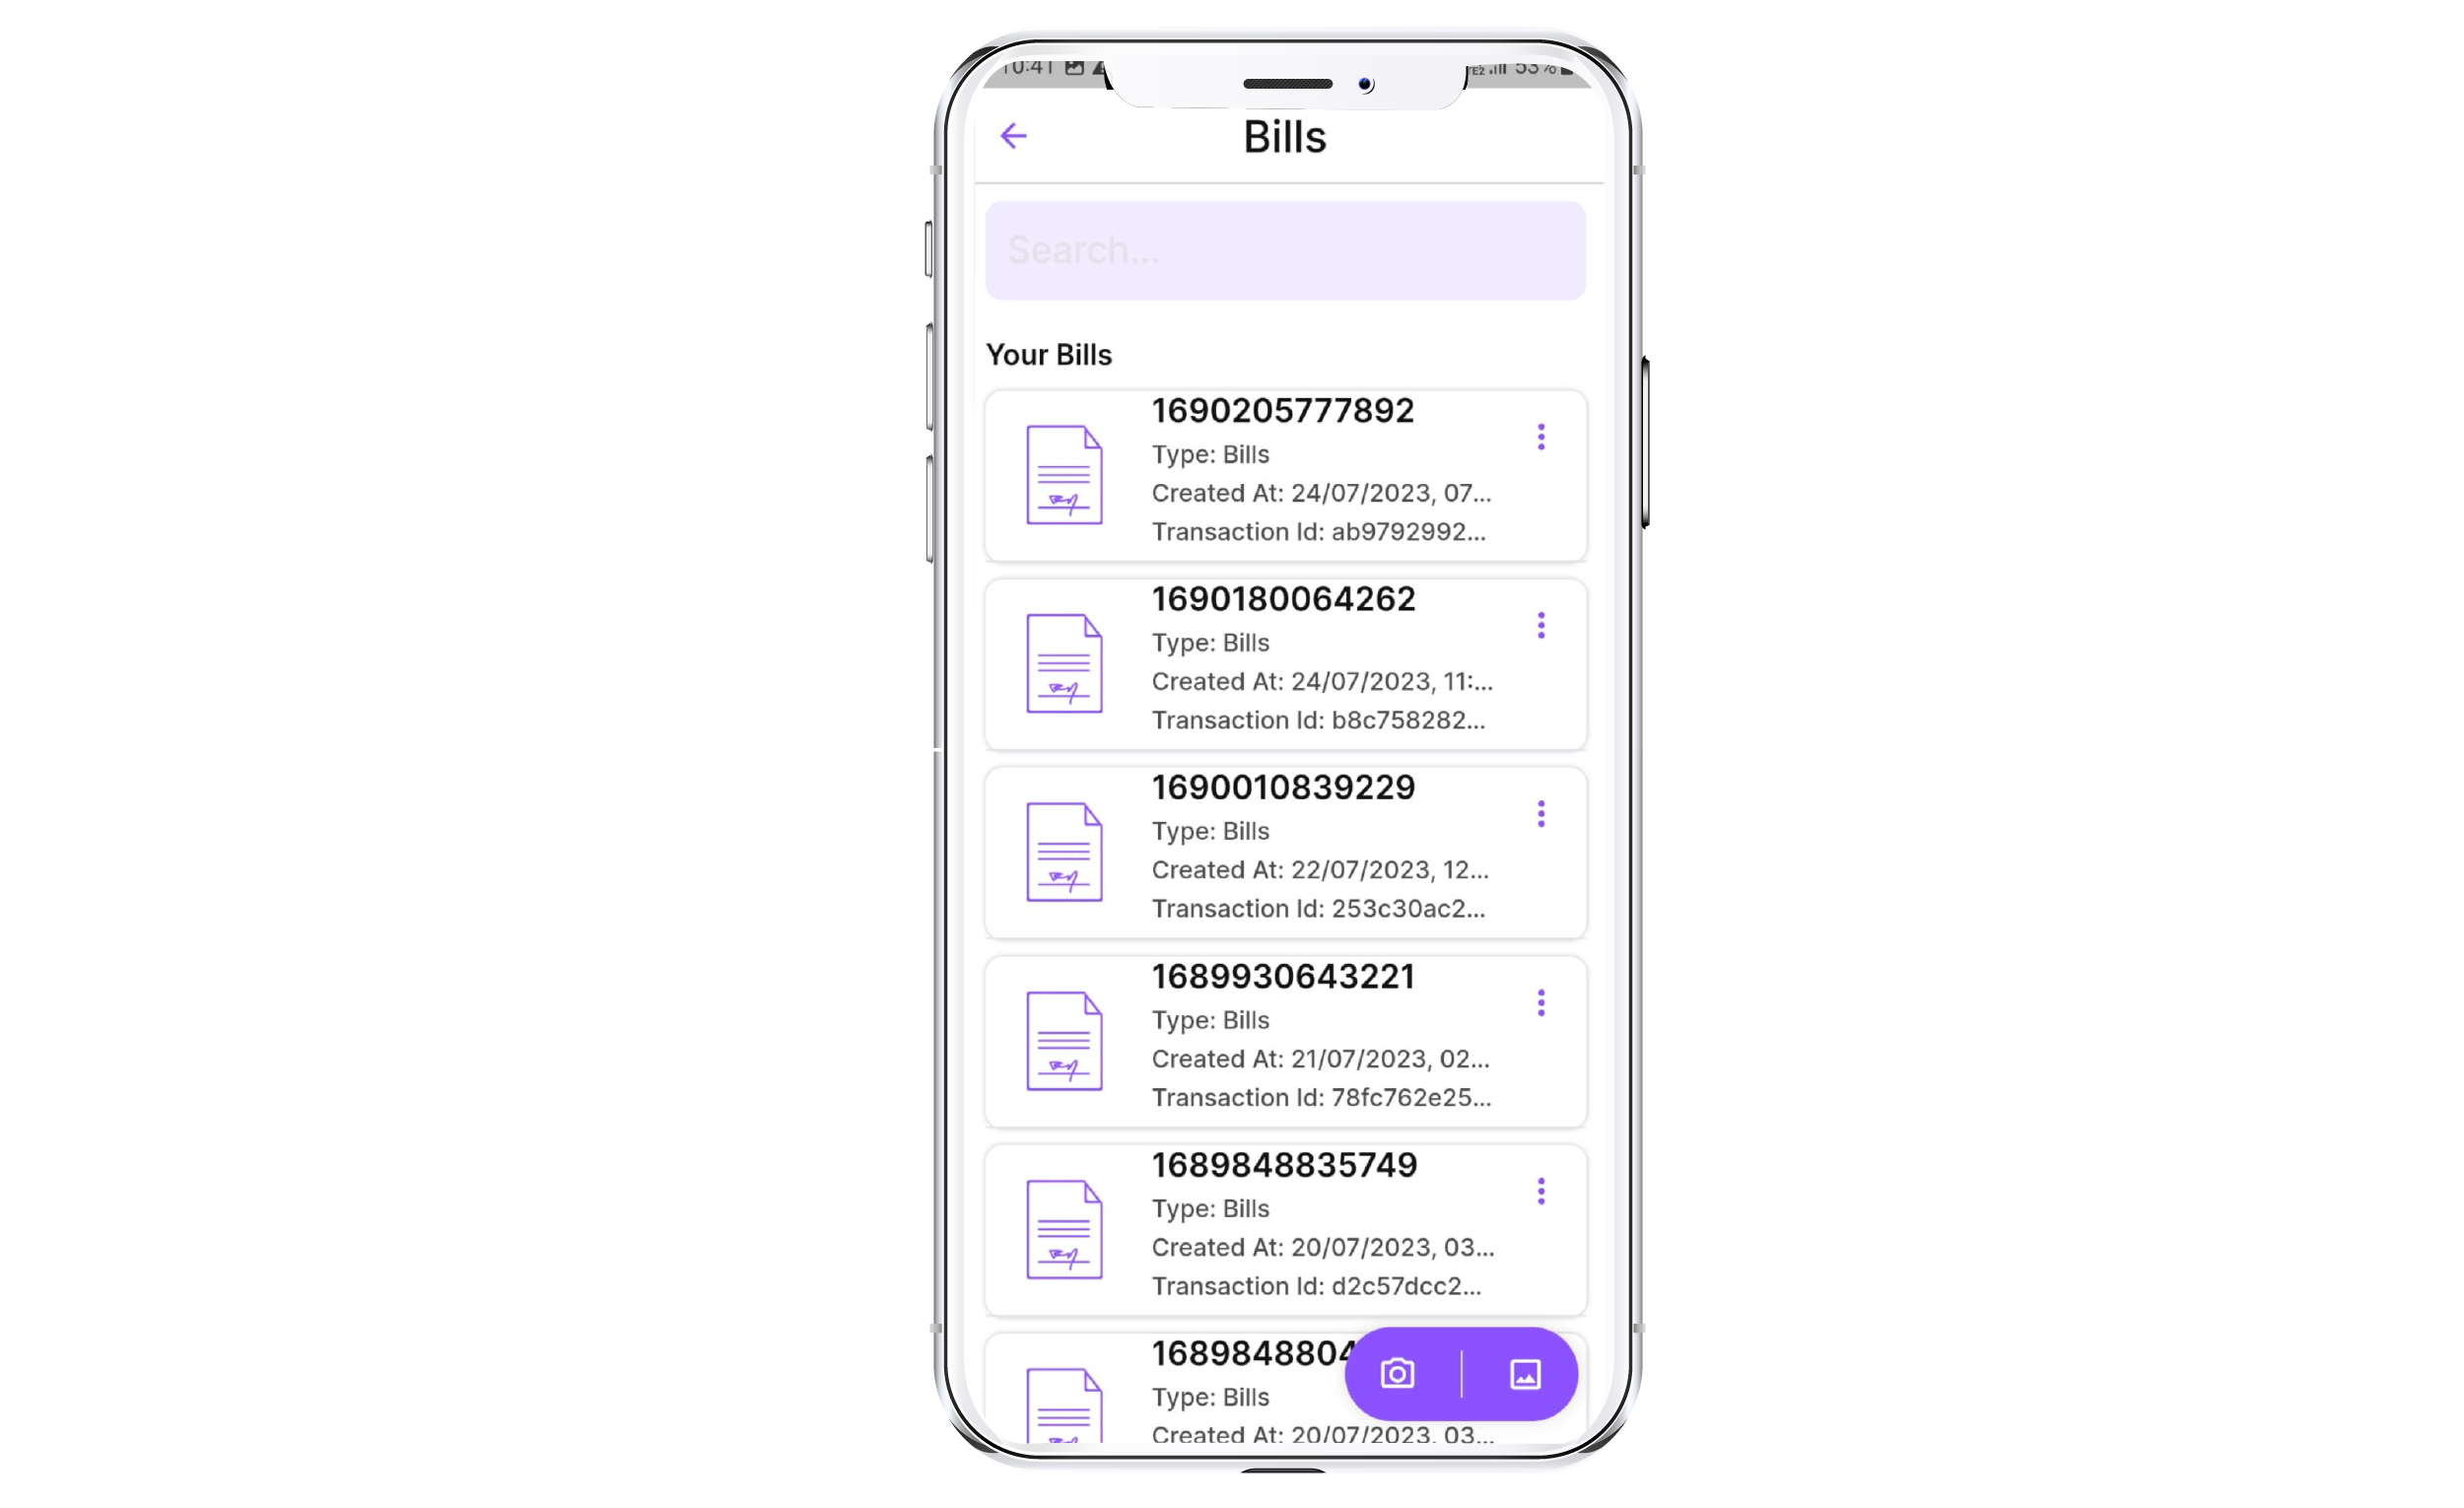
  • Uploading Receipts: Attach scanned or photographed receipts to validate your expenses. Clear and legible receipts are essential for faster approval.
  • Expense Categories: Choose from predefined expense categories like Travel, Meals, Lodging, Transportation, and Miscellaneous. If a specific category isn't available, use the "Other" category and provide details.

3. Review and Approval

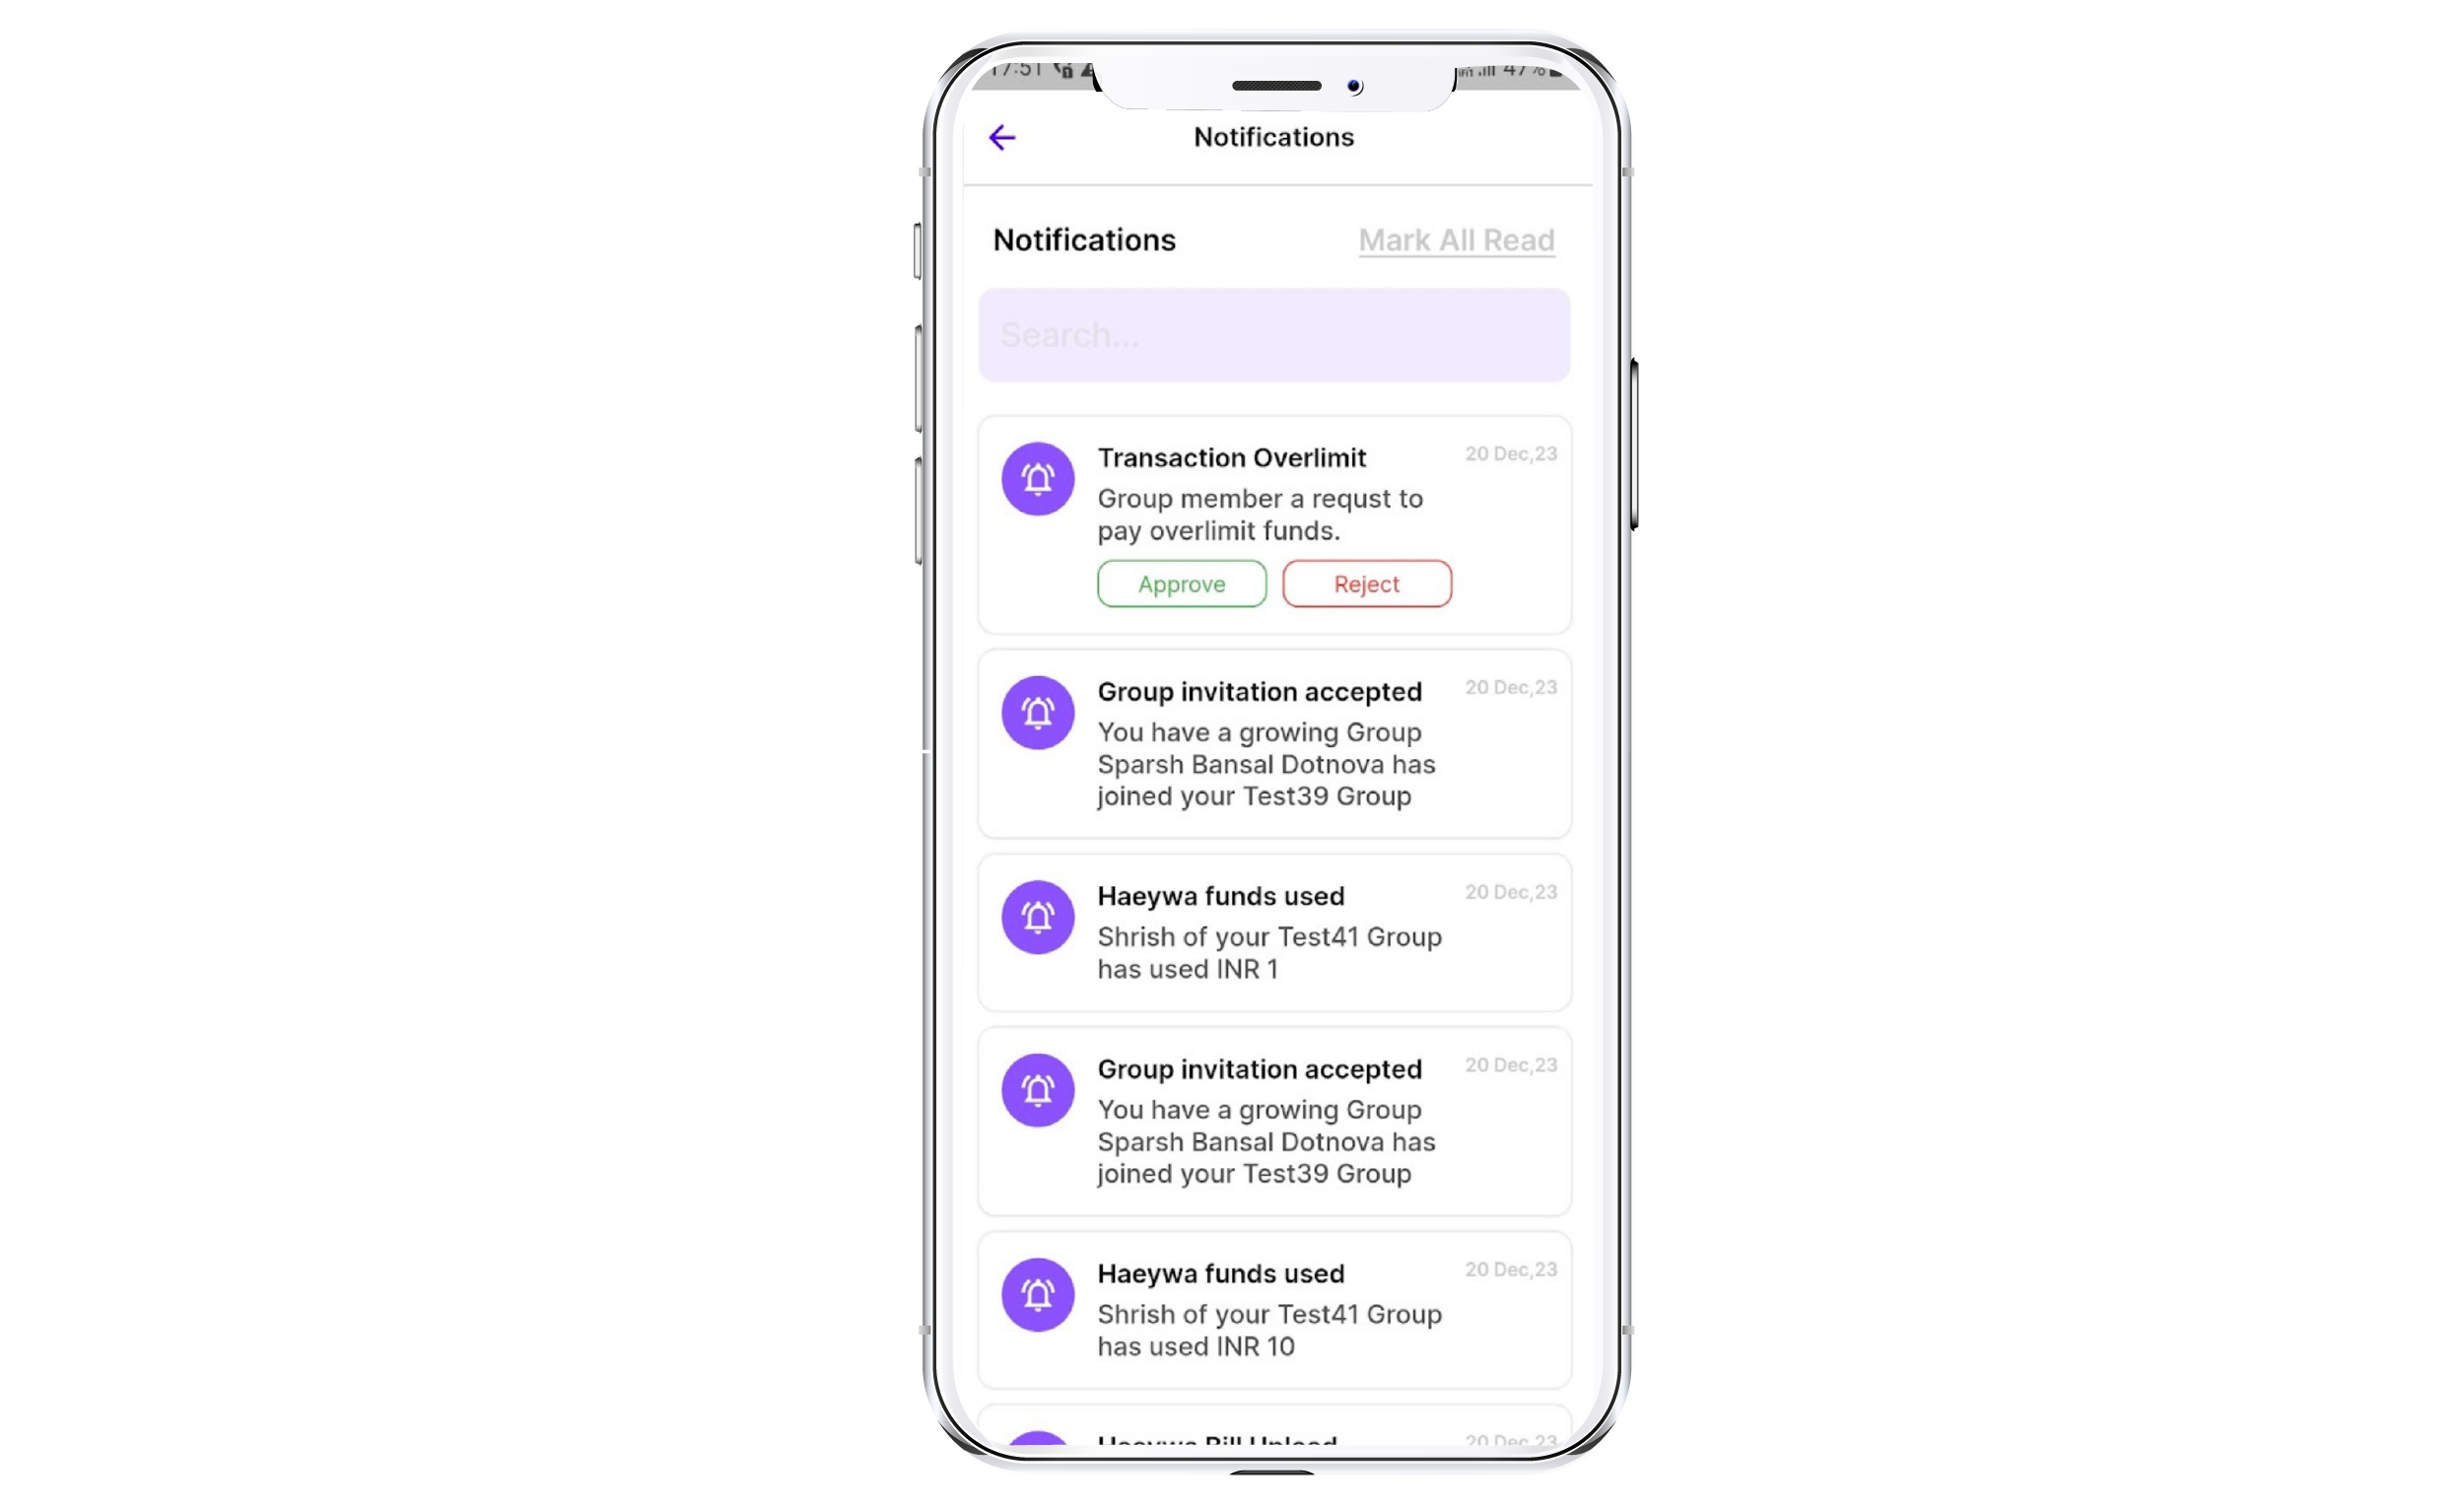
  • Manager Review: Once you've submitted your expense report, your manager will receive a notification to review and approve your expenses. Managers can request changes if needed.
  • Edit and Resubmit Expenses: If your manager requests changes, make the necessary adjustments and resubmit the report for review.
  • Approval Workflow: Once approved by your manager, the expense report will be forwarded to the finance team for final review and processing.

4. Finance Processing

  • Final Review by Finance Team: The finance team will verify the accuracy and compliance of the expenses before processing the reimbursement.
  • Reimbursement Payment: Once approved by the finance team, reimbursement will be processed according to your organization's payment schedule. You'll receive the funds through your preferred payment method.

5. Tracking and Reporting

  • Dashboard Overview: The dashboard provides an overview of your pending, approved, and paid expenses. Monitor the status of your reimbursement requests at a glance.
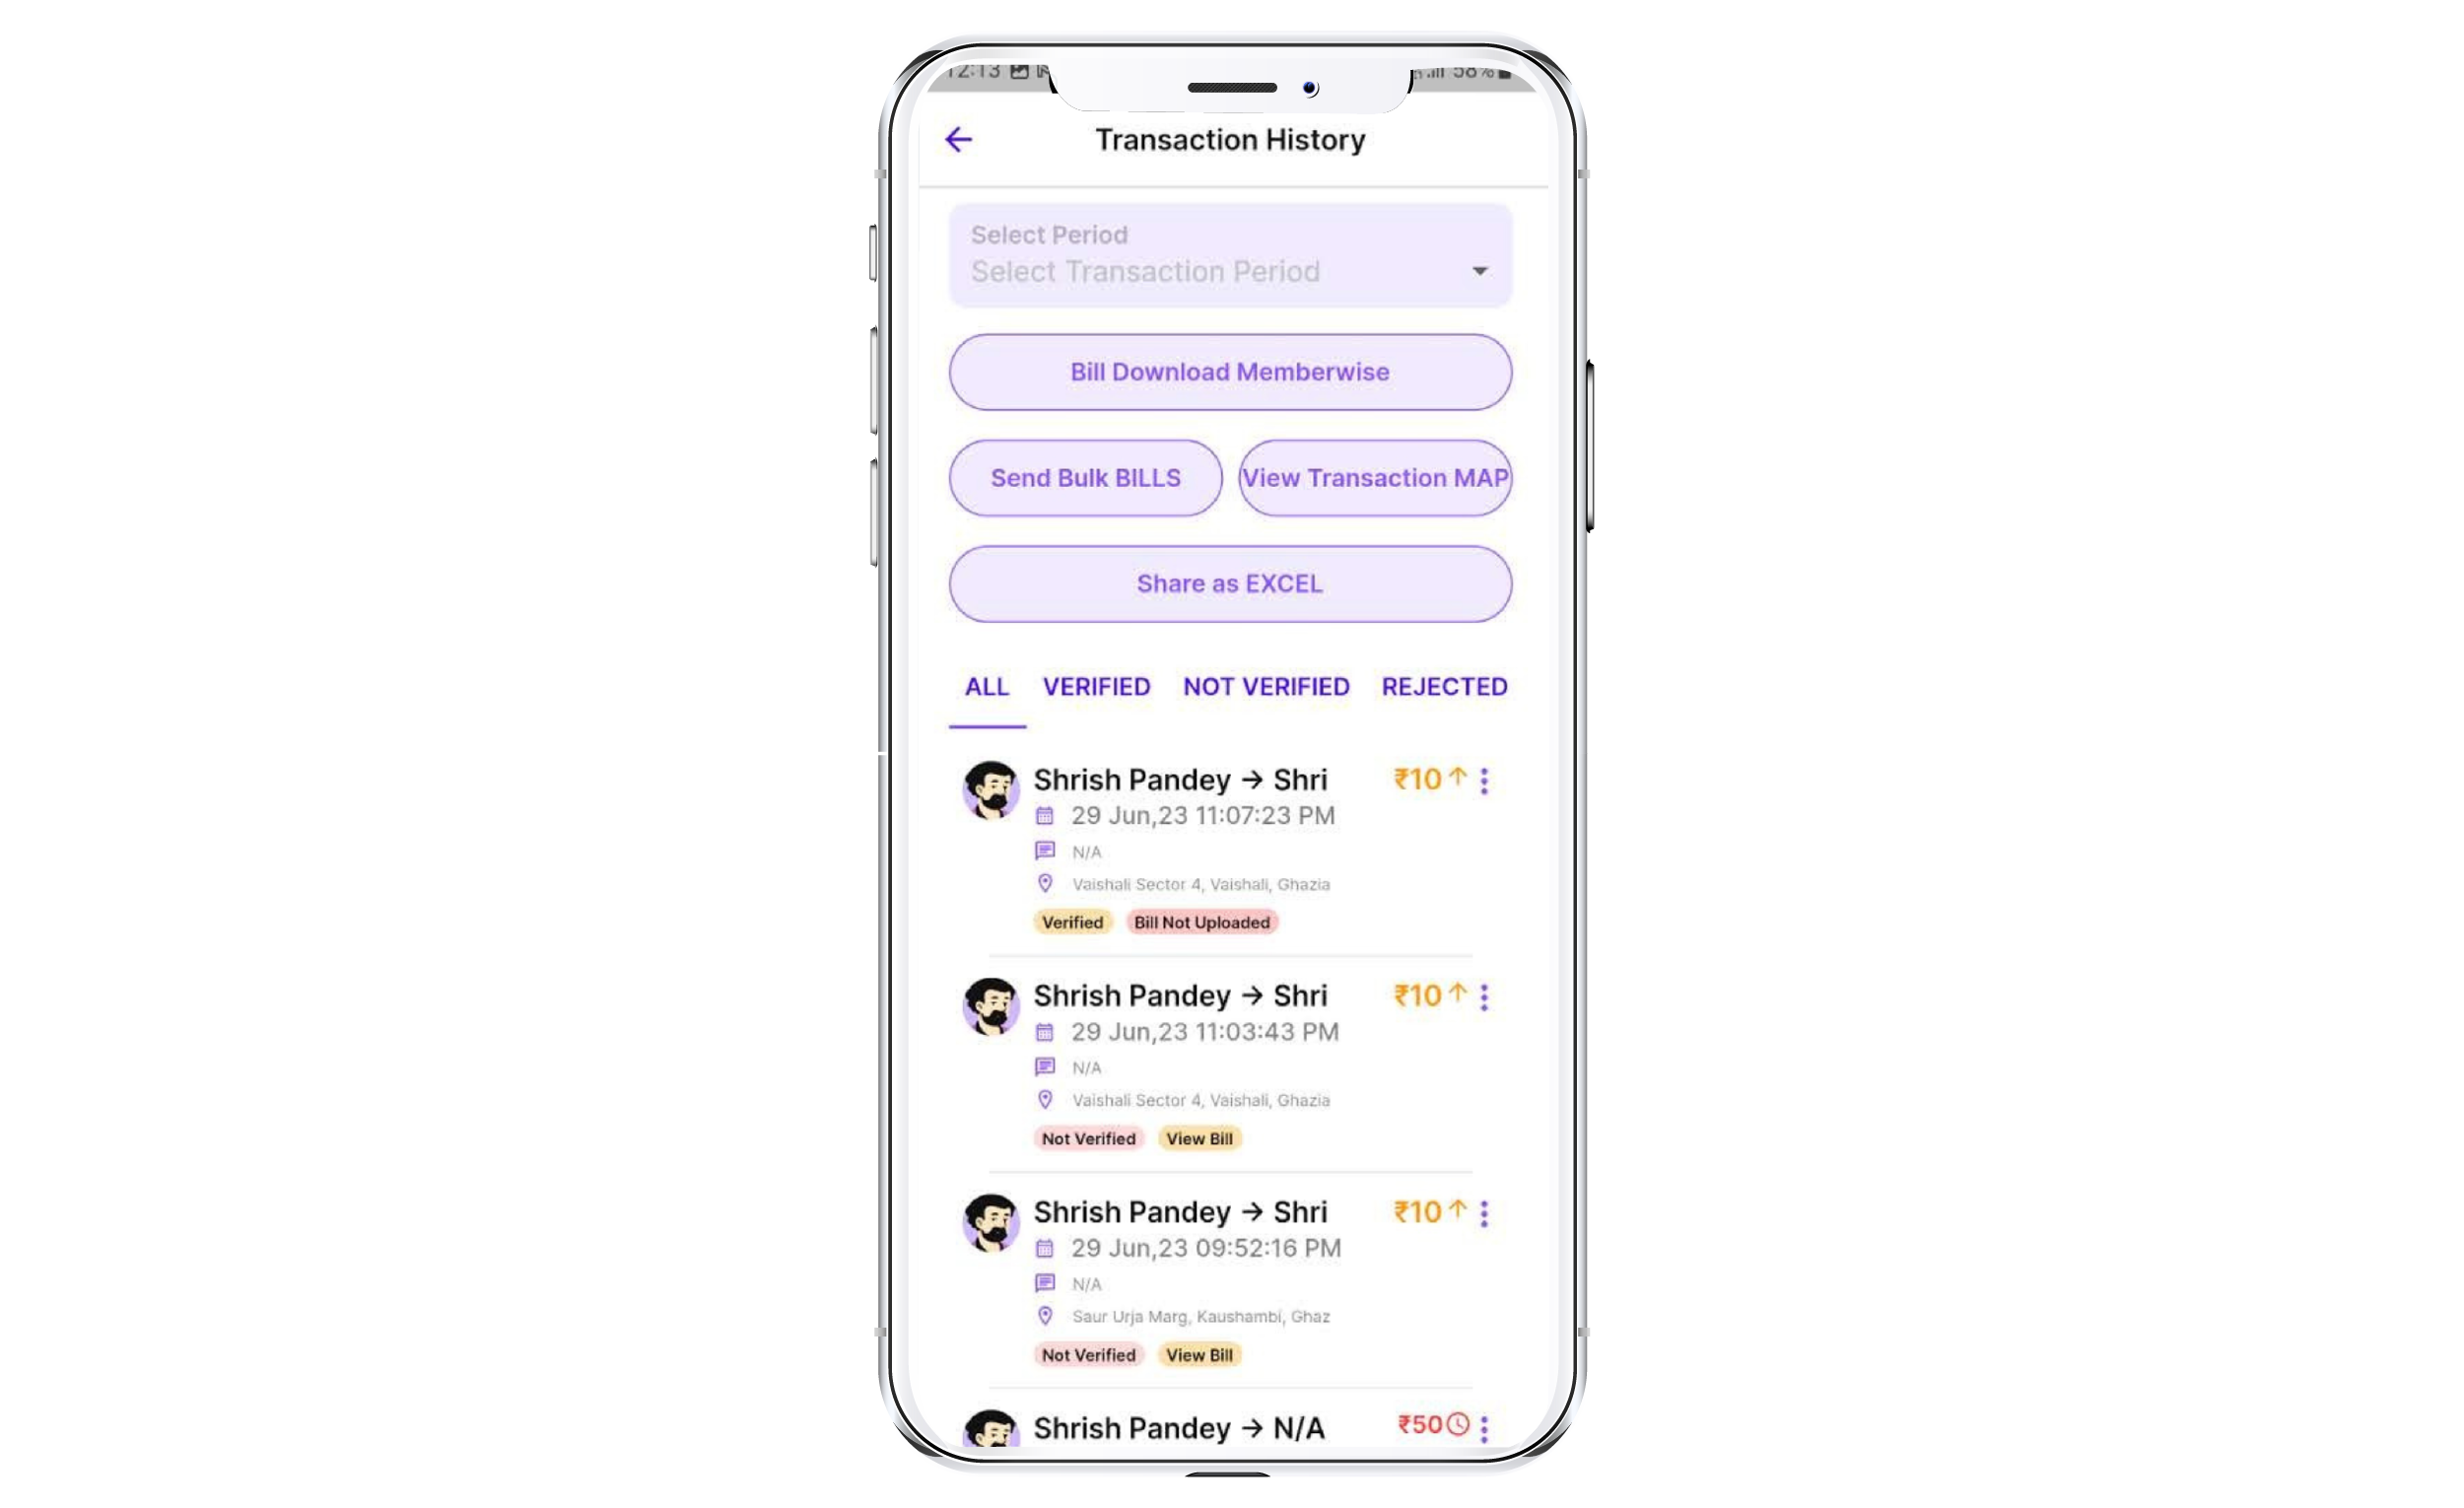
  • Expense History: Access a detailed history of all your submitted expense reports, along with their approval status and payment details.
  • Generating Reports: Create comprehensive expense reports for specific time periods or projects. Customize these reports to fit your needs, whether for personal tracking or company audits.

6. Account Settings

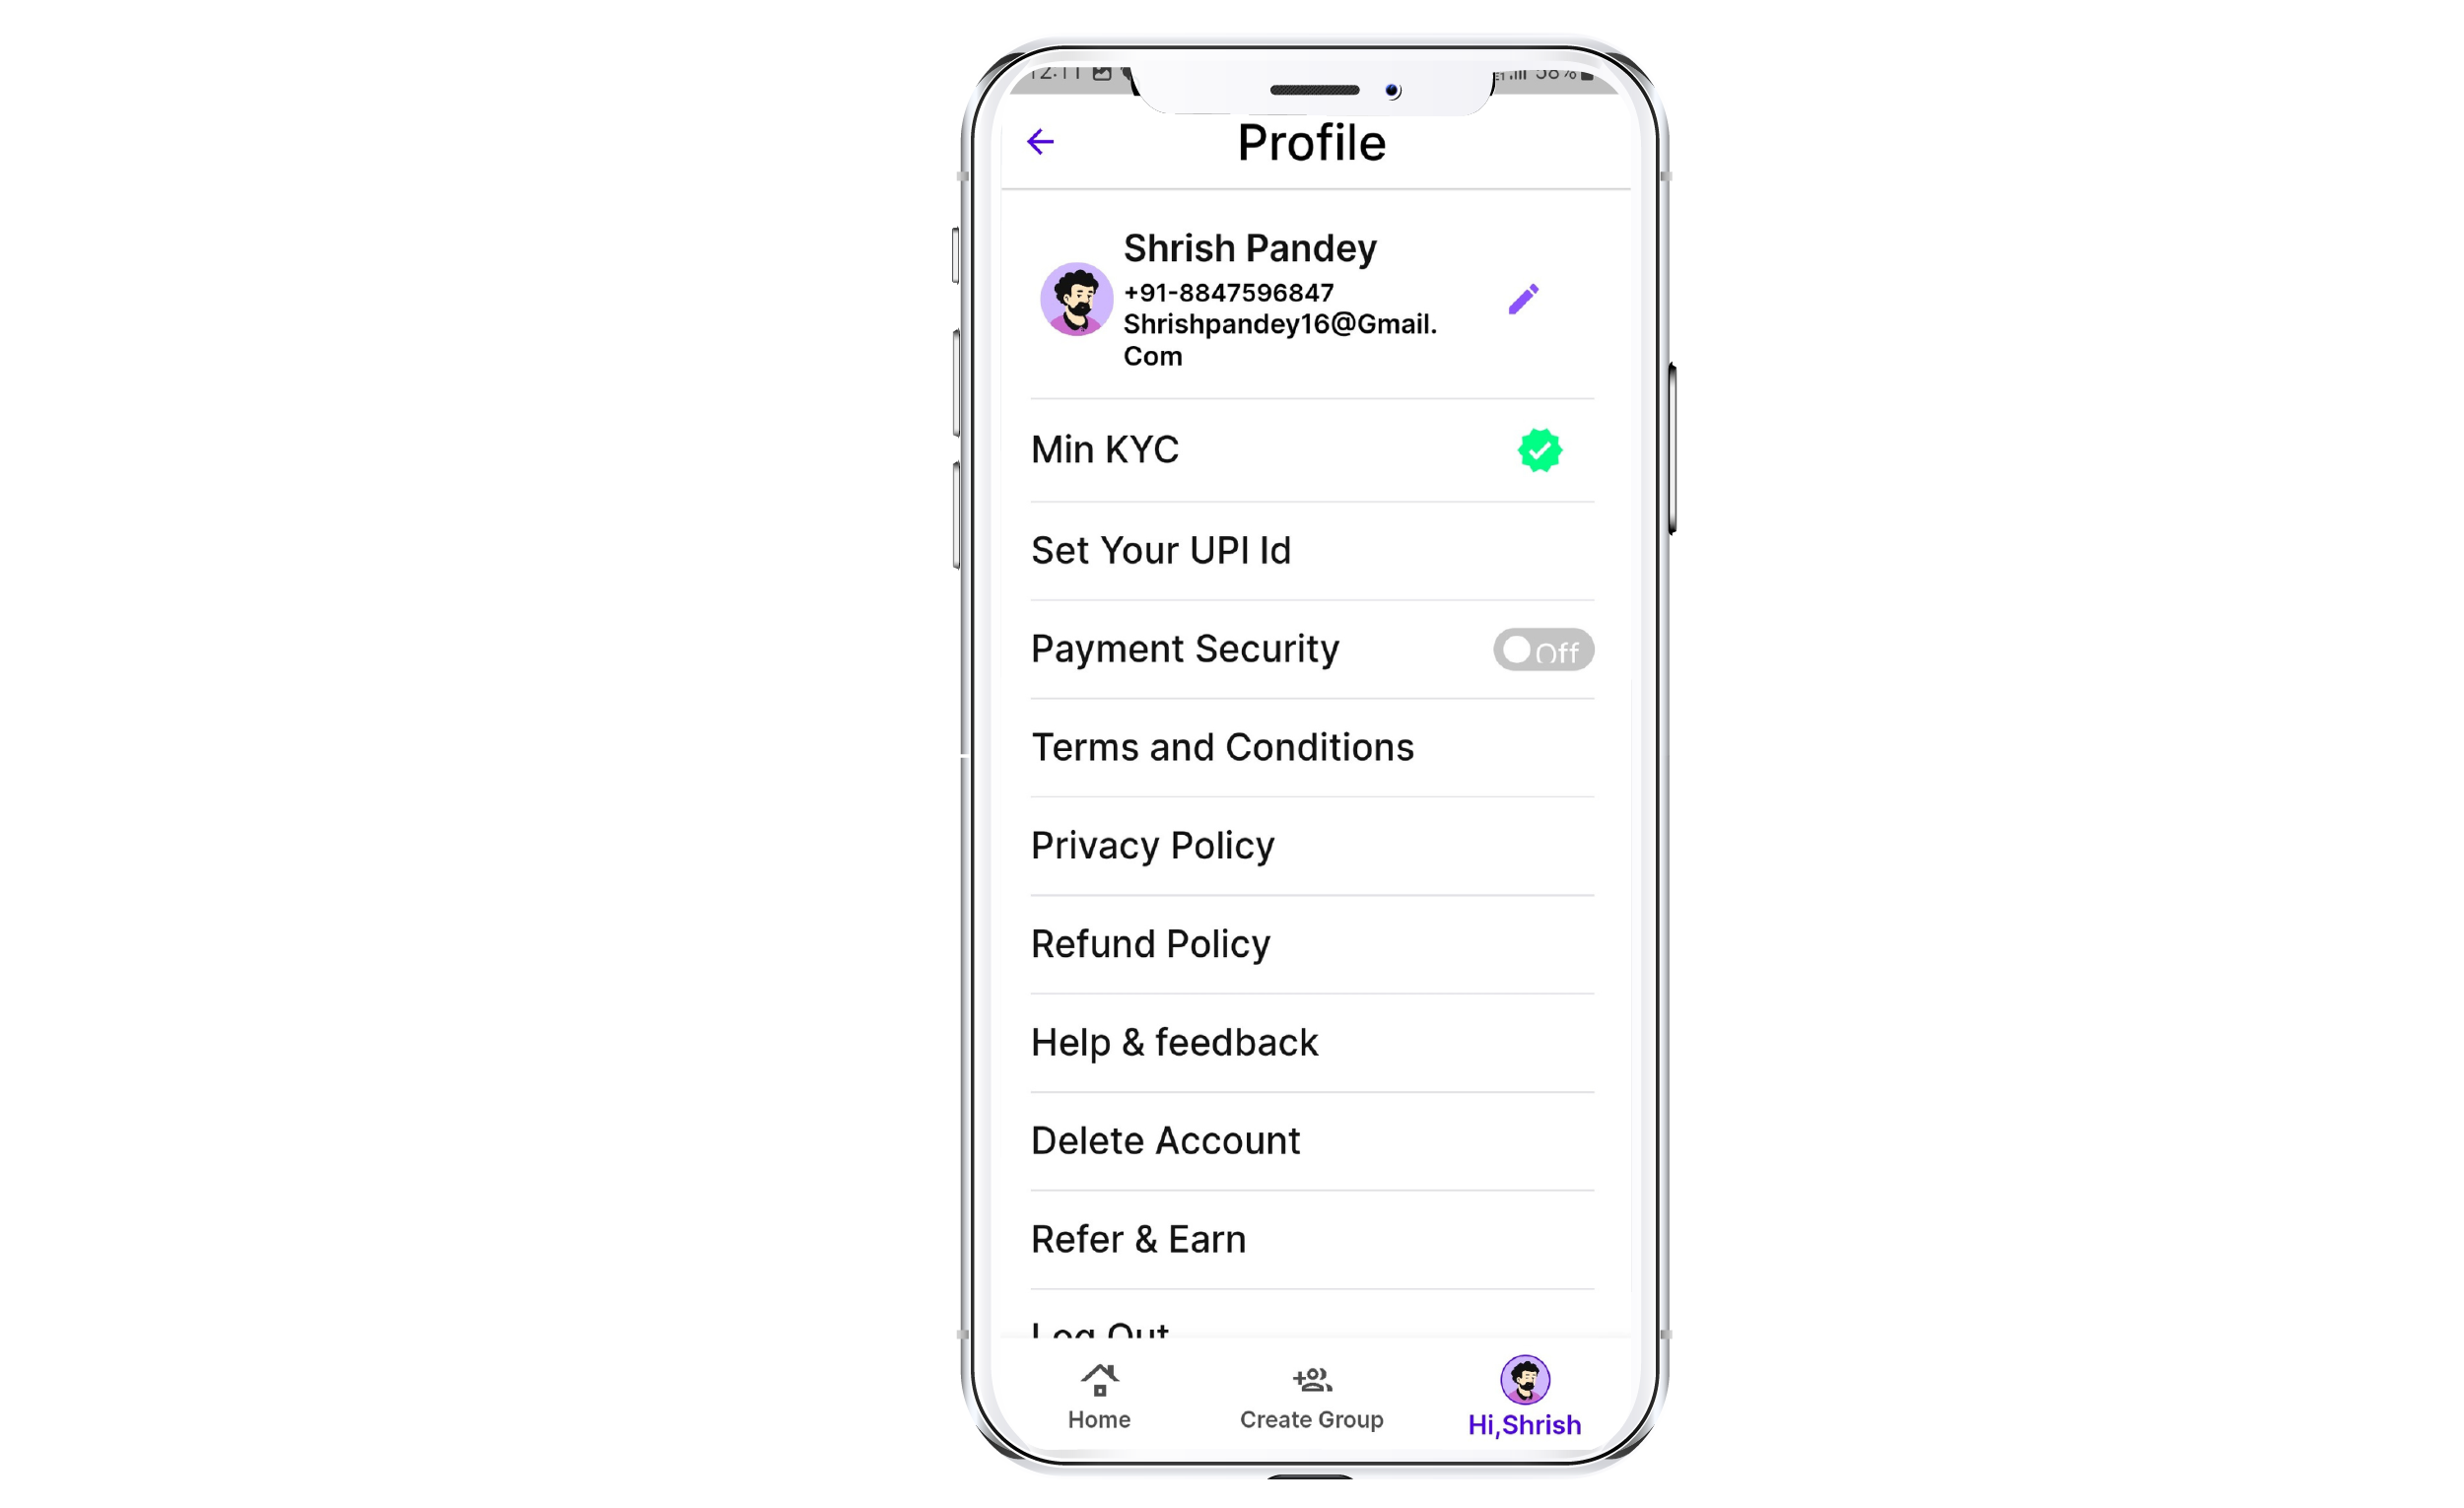
  • Updating Profile Information: Keep your contact details and preferred payment method up to date for accurate communication and timely reimbursements.
  • Notification Preferences: Choose how you want to be notified about expense report updates—via email, app notifications, or both.

*Note: This user guide is for informational purposes only and does not replace any official company policies or guidelines.

Businesses onboard

With 250+ satisfied businesses onboard, we are transforming the business petty cash payments and management through our unique offering.

our-clients
our-clients
our-clients
our-clients
our-clients
our-clients
our-clients
our-clients
our-clients
our-clients
our-clients
our-clients
our-clients
our-clients
our-clients
our-clients
our-clients
our-clients
our-clients
our-clients
our-clients
our-clients

Testimonials